
Stop uploading to online converters. ImageMagick and FFmpeg let you process images and videos right from your terminal - faster, scriptable, and completely offline.
Two Tools Every Developer Needs
ImageMagick handles images (resize, crop, convert). FFmpeg handles video/audio (compress, convert, extract). Together, they're unstoppable.
Installation
macOS (Homebrew)
brew install imagemagick ffmpeg
Ubuntu/Debian
sudo apt install imagemagick ffmpeg
ImageMagick: Image Processing
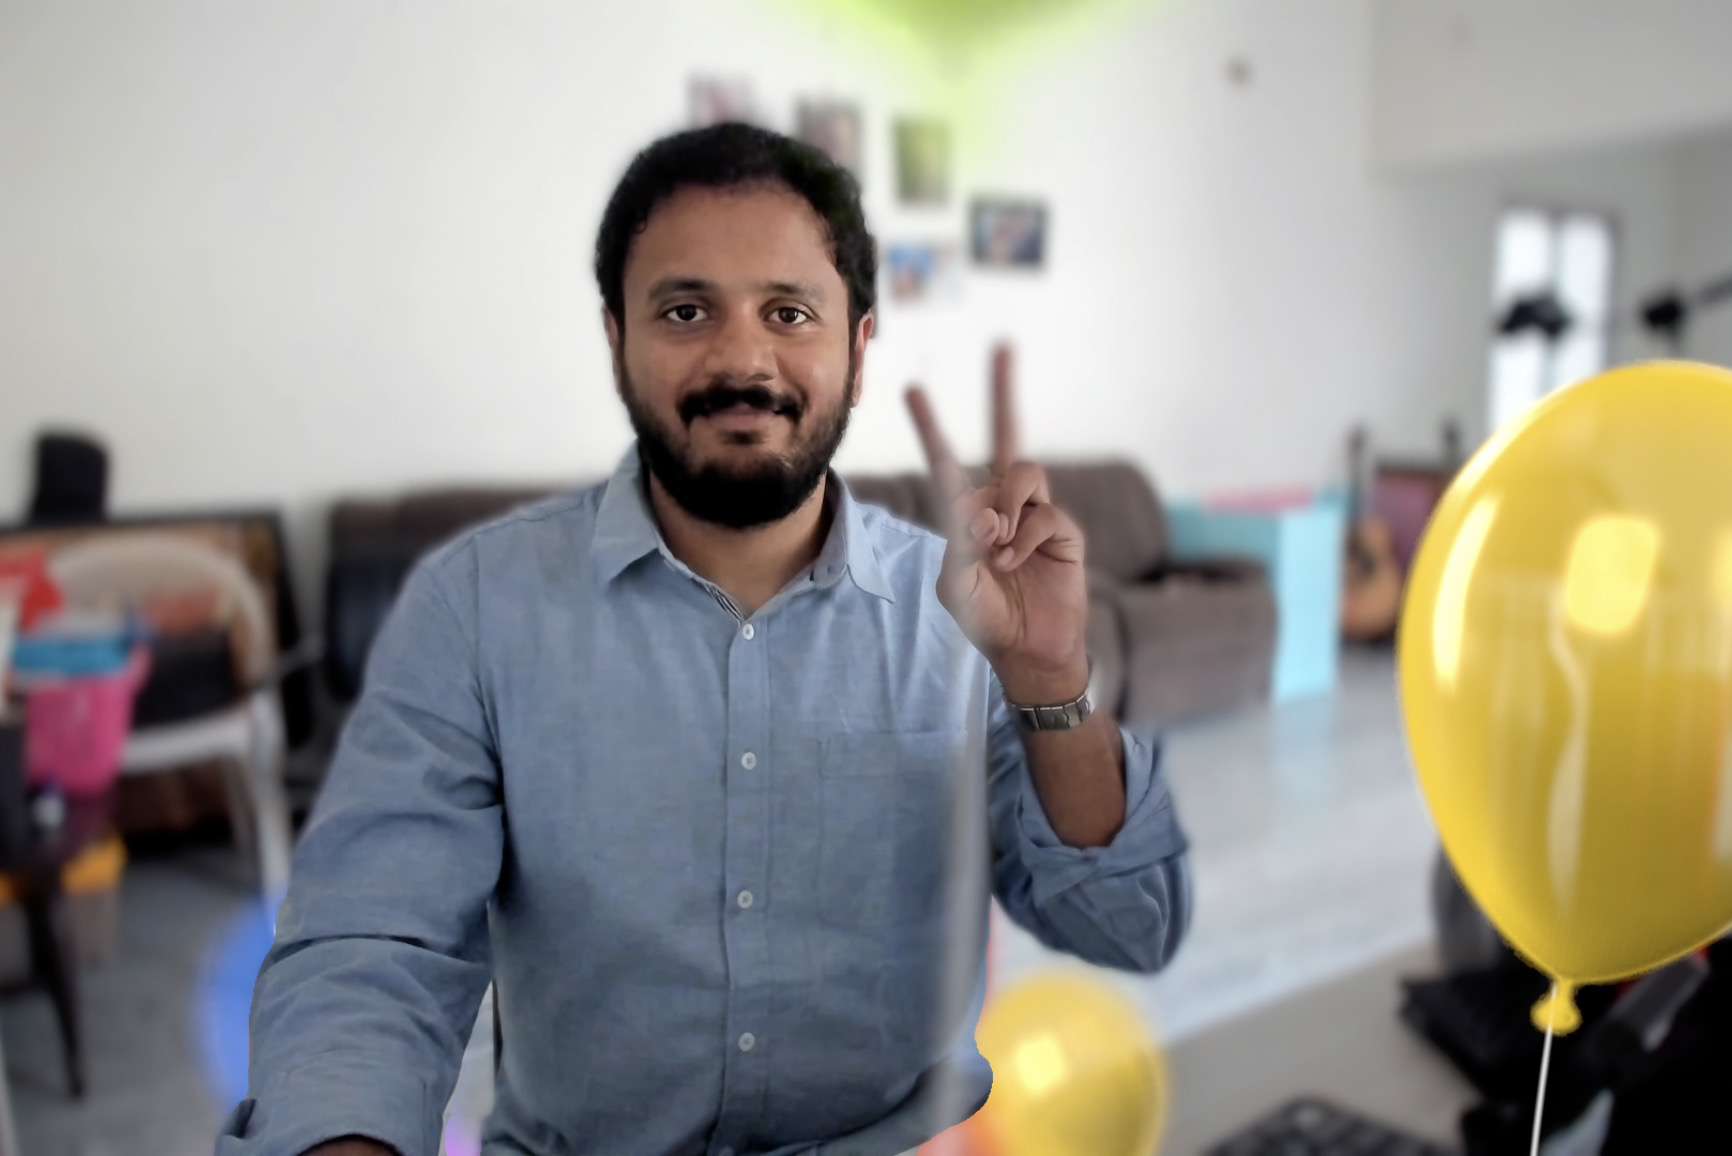
Here's our original image - we'll transform it in various ways:

Original image (195KB)
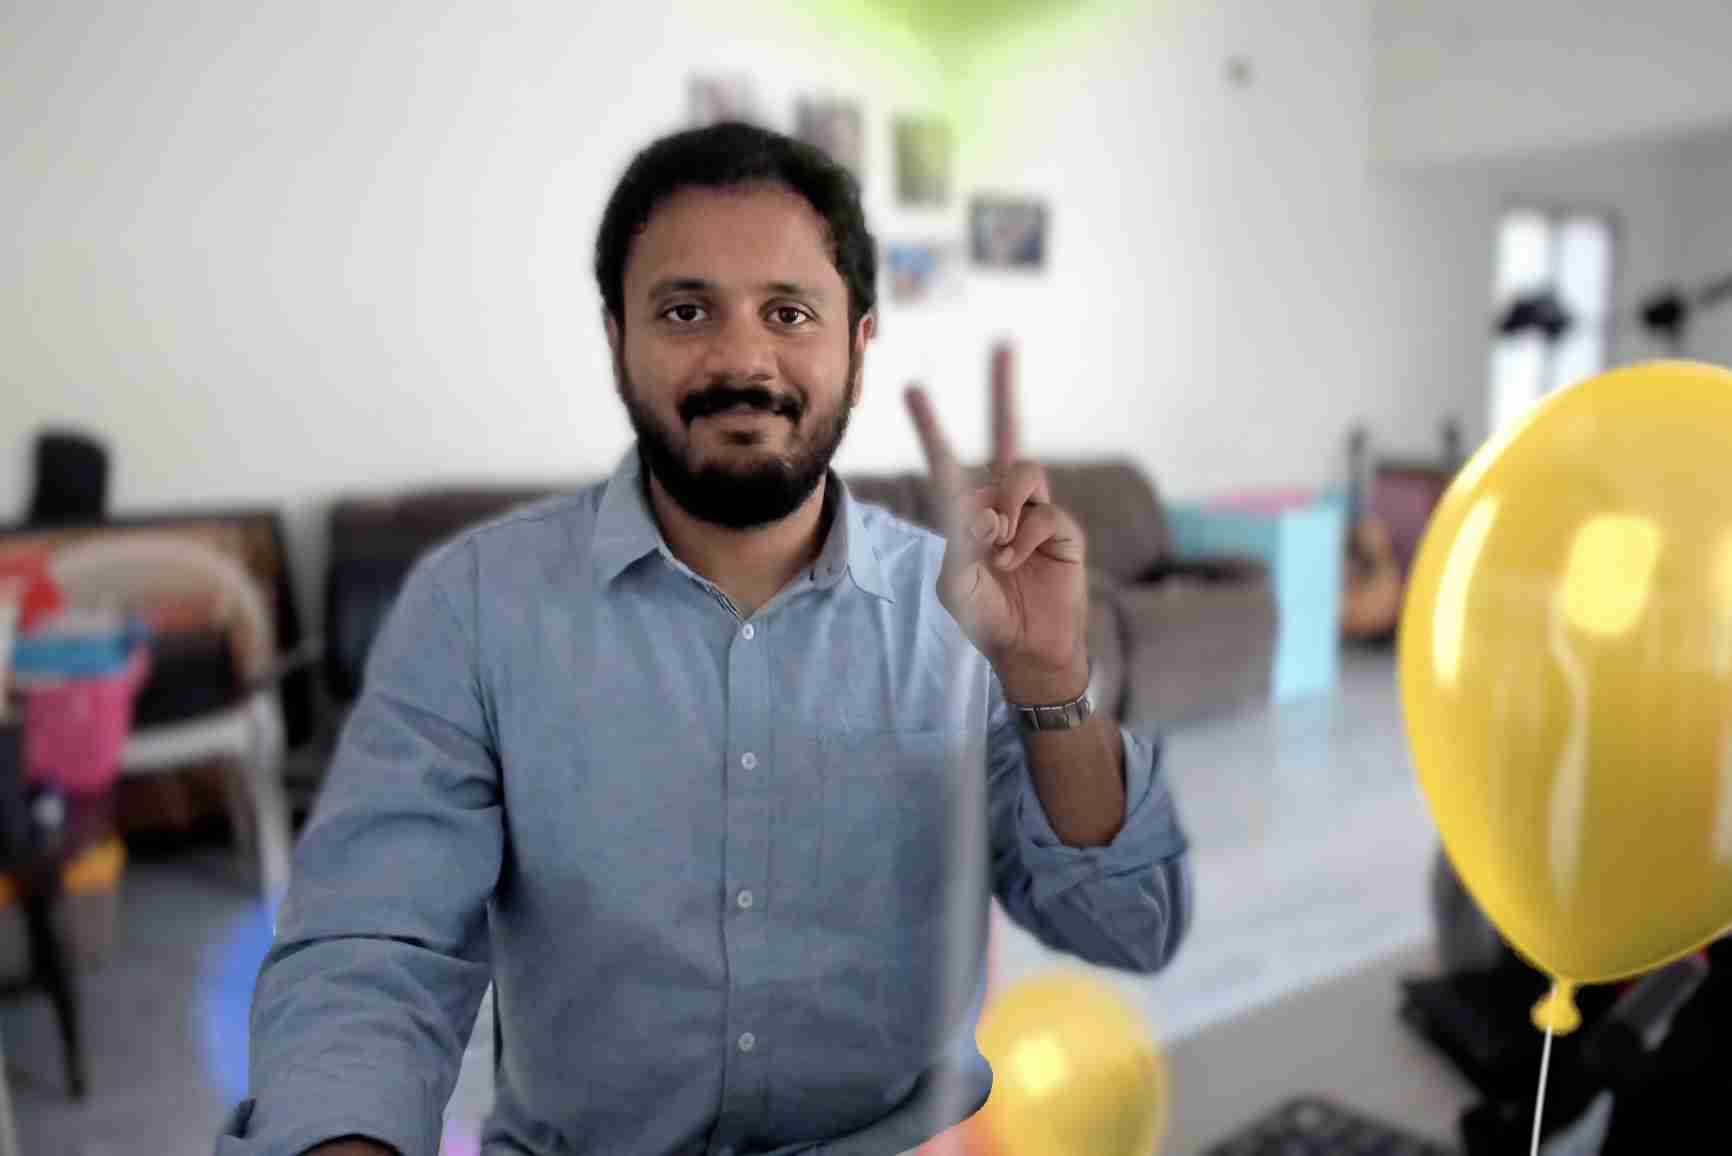
1. Resize Images
convert input.jpg -resize 800x600 output.jpg
Resize to fit within 800x600 while maintaining aspect ratio. Use 800x600! to force exact dimensions.

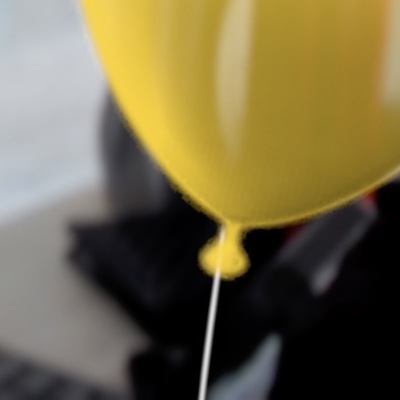
2. Crop Images
convert input.jpg -gravity Center -crop 400x400+0+0 +repage output.jpg
Use -gravity to set the origin point for cropping. The +repage resets the canvas after cropping.
Crop from different origins (400x400 crop):

NorthWest

North

NorthEast
SouthWest

Center
SouthEast
3. Create Thumbnails
convert input.jpg -thumbnail 200x200^ -gravity center -extent 200x200 thumb.jpg
Create a perfect square thumbnail. The ^ ensures the image fills the area, then center-crops.

4. Convert to Grayscale
convert input.jpg -colorspace Gray output.jpg

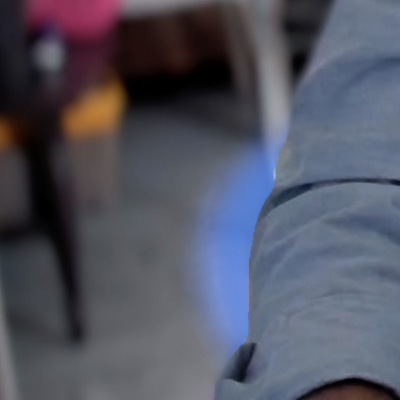
5. Apply Blur
convert input.jpg -blur 0x8 output.jpg
The format is -blur radiusxsigma. Higher sigma = more blur. Great for background images.

6. Compress Images
convert input.jpg -quality 60 output.jpg
Reduce file size by lowering quality (1-100). Lower values = smaller files but more compression artifacts.
Quality comparison (same image, different -quality values):

-quality 100
384 KB

-quality 80
122 KB
-quality 60
80 KB ✓

-quality 40
62 KB
-quality 20
43 KB
-quality 10
31 KB
Recommendation: Quality 60-80 gives the best balance for web images. You get 70-80% file size reduction with minimal visible quality loss.
FFmpeg: Video Processing
FFmpeg is the Swiss Army knife of video. Here are the commands you'll use most:
1. Extract Thumbnail from Video
ffmpeg -i video.mov -ss 00:00:01 -frames:v 1 thumbnail.jpg
Extract a single frame at the 1-second mark. Perfect for video previews.
2. Create GIF from Video
ffmpeg -i video.mov -t 3 -vf "fps=10,scale=480:-1" output.gif
Take first 3 seconds, 10fps, scale to 480px width. Great for demos and documentation.
3. Convert to MP4 (H.264)
ffmpeg -i video.mov -c:v libx264 -crf 23 output.mp4
Convert any video to web-friendly MP4. CRF 18-28 controls quality (lower = better quality, bigger file).
4. Compress Video
ffmpeg -i video.mov -c:v libx264 -crf 28 -preset fast output.mp4
Higher CRF (28) + fast preset for quick, smaller files. Use -preset slow for better compression.
Result: Original 7.6MB → Compressed 942KB (88% smaller!)
5. Trim Video
ffmpeg -i video.mov -ss 00:00:05 -t 00:00:10 -c copy output.mov
Start at 5 seconds, take 10 seconds. The -c copy avoids re-encoding (instant!).
6. Extract Audio
ffmpeg -i video.mov -vn -acodec copy audio.aac
Extract audio track without re-encoding. Use -an to remove audio instead.
7. Scale Video
ffmpeg -i video.mov -vf scale=1280:720 output.mp4
Resize to 720p. Use scale=1280:-1 to auto-calculate height and maintain aspect ratio.
Batch Processing
Process entire folders with simple bash loops:
Resize all images in a folder
for f in *.jpg; do convert "$f" -resize 800x800 "resized_$f"; done
Convert all MOV files to MP4
for f in *.mov; do ffmpeg -i "$f" -c:v libx264 "${f%.mov}.mp4"; done
Quick Reference
🖼️ ImageMagick
-resize WxH- Resize image-crop WxH+X+Y- Crop area-quality N- Set quality (1-100)-colorspace Gray- Grayscale-blur 0xN- Apply blur-rotate N- Rotate degrees
🎬 FFmpeg
-ss HH:MM:SS- Seek to time-t N- Duration in seconds-crf N- Quality (18-28)-vf scale=W:H- Resize-an- Remove audio-c copy- Copy without re-encode
Master these tools and you'll never need an online converter again.
Faster, scriptable, works offline, and respects your privacy.